Facebook Component Setup
Setting up Facebook on Sitecore is a three-step process.
- Set up a "Facebook Connection" in Sitecore
- Log onto "Developer.facebook.com" and get your Page's Access Token
- Set up the Facebook Connection with your Social Connections Component
This allows a user to display current posts on their Drexel Website automatically. It will display the most recent posts available.
-
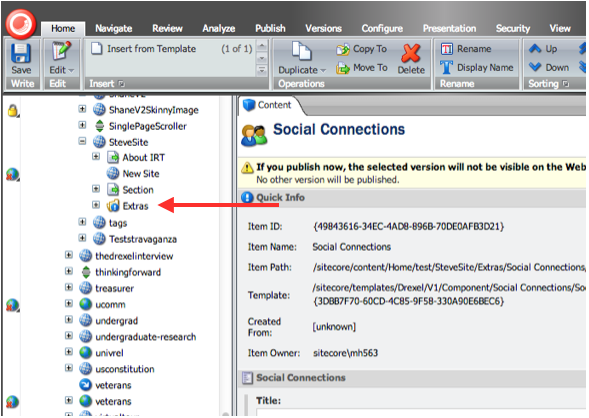
Locate the Extras Folder of your Sitecore Website in the Content Tree of Sitecore
-
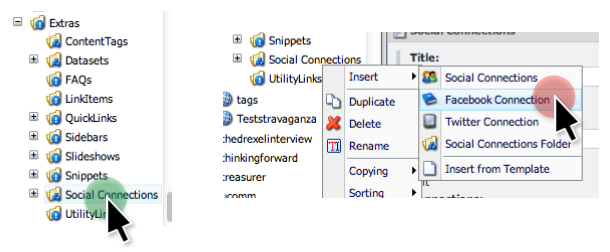
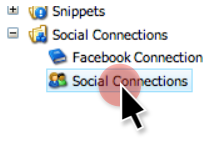
Expand the “Extras” folder to find the Social Connections Folder
-
Right Click on the folder to bring up your “Insert” menu
-
Click on the “Facebook Connection” option.
-
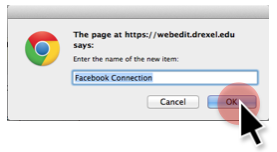
Press “OK” to confirm
-
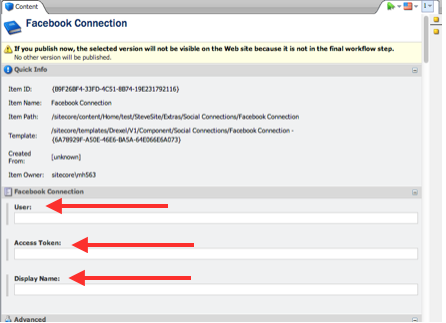
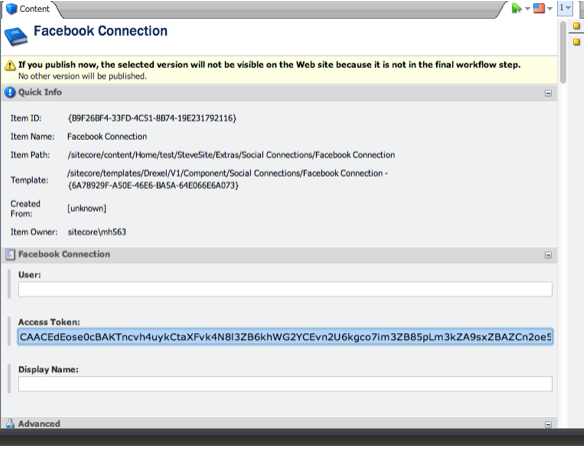
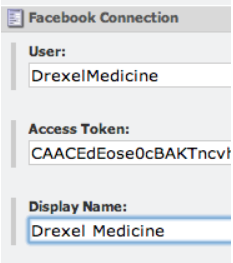
On the Facebook Connection you just created fill in the User/Access Token/Display Name of the site you are connecting.
Facebook Access Token
-
Go to facebook.com and Sign in with a Facebook account that is an “Administrator” of the organization page on Facebook. This is normally just a user who can go in and make posts on the organizations page.
-
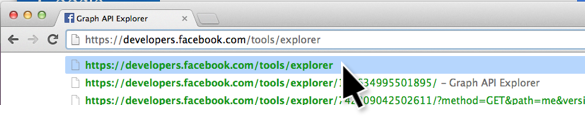
Once logged in go to “https://developers.facebook.com/tools/explorer/“
-
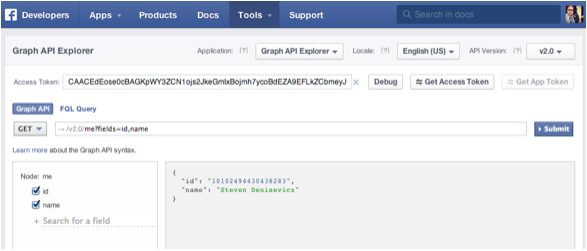
At the top of the next page you will see a long “Access Token”
-
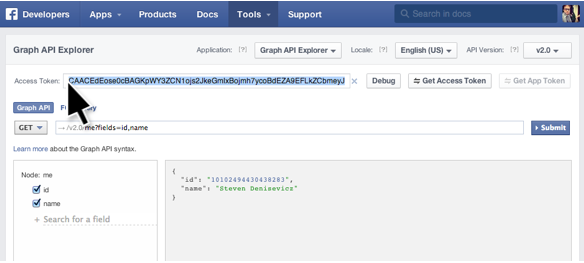
Highlight the Access Token
-
Select “Copy” to copy the Access Token on your computer’s clipboard to use in Sitecore
-
Go back to the Facebook Connection we set up in Sitecore
-
Input the Access Token in Sitecore under the “Access Token” field by clicking on the Access Token field, going to the “Edit” menu at the top and choosing “Paste”
Facebook User
-
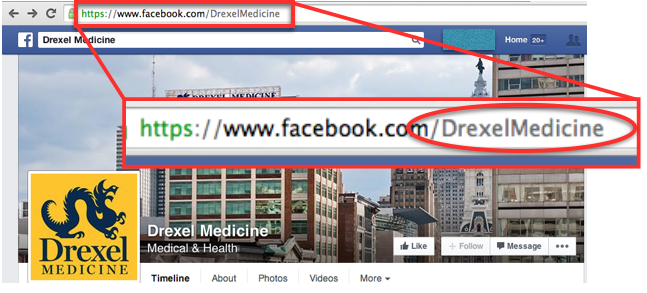
Go back to Facebook in your internet browser and Navigate to the Facebook page you are trying to link to Sitecore. In our example we are using the Drexel Medicine Facebook page.

-
At the top of your Internet browser look at the entire URL. Your Facebook user is after “facebook.com/“ In our example the Username is “DrexelMedicine&rdquo
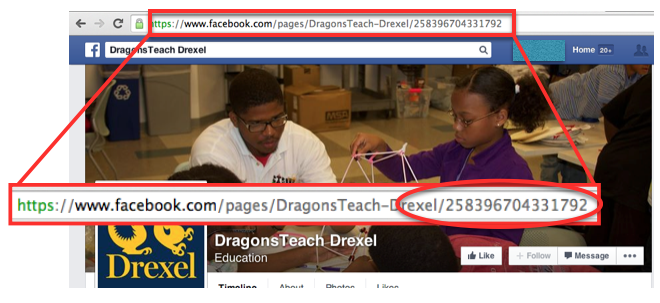
If your page ends with numbers rather than a username your “User” would be the digits at the end of your URL. In the example below the DragonsTeach Facebook page would use “258396704331792 “ as the User in Sitecore
-
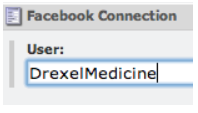
Fill in the “User” field in Sitecore with the User from the Facebook page.
-
Fill in the Display Name with how you would like Sitecore to display the title of your page. If you type in “Drexel Medicine”, each of your posts will be marked as posted by “Drexel Medicine”
-
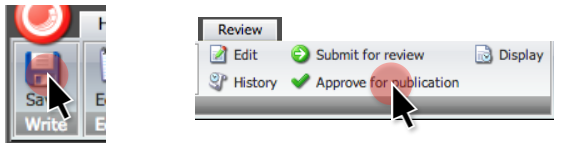
Save and Publish your Facebook Connection
Connect Facebook to Social Connections Component
Once the Facebook Connection is created we need to link our Social Connections Component to it so that it feeds in data.
-
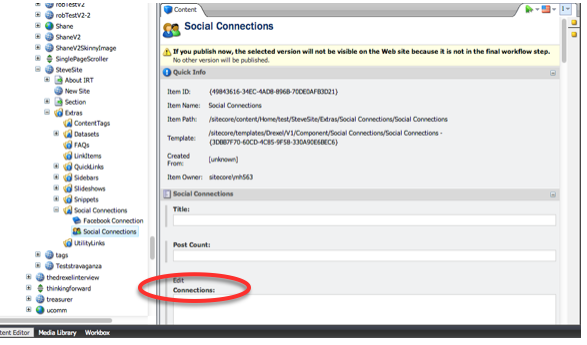
Click on the “Social Connections” Component in the Extras Folder under “Social Connections”
-
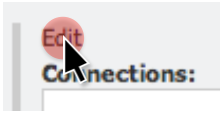
In the main editor locate the field that says “Connections”
-
Press the “Edit” button above the word “Connections”
-
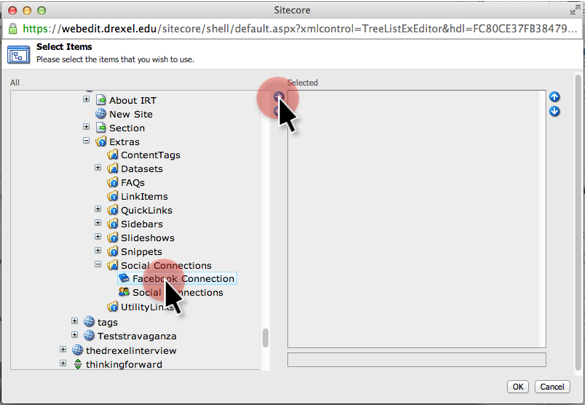
A Content tree window will appear. Find the Facebook Connection under your
“Site” -> “Extras” -> “Social Connections” -> “Facebook Connection”
-
Click on the Facebook Connection to Select it
-
Click the Blue Arrow button that’s pointing to the right to add it to the component.
-
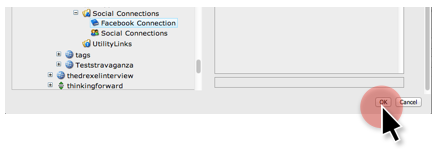
Click “OK” at the bottom when you’re finished.
-
Save and Publish your Social Connections Component